Connecting a Hydro Pellet Stove to Radiators: What You Need to Know
Correctly connecting a hydro pellet stove to radiators requires careful planning that considers the necessary power output, the type of system, and the layout of the space.
1. Evaluate the Stove’s Power Output
The first step is thermal sizing: you need to calculate the kW required to heat the entire home. An undersized stove will not provide adequate comfort, while an oversized one will needlessly consume more pellets. Generally, for a well-insulated 100 sqm house, about 10 kW are needed.
2. Check the Existing System
A hydro pellet stove can be connected to an existing system, but its compatibility must be verified. The pipes should be in good condition, preferably insulated, to prevent heat loss. If the radiators are old or inefficient, it may be a good idea to replace them or fit them with thermostatic valves.
3. Install a Buffer Tank
In many cases, it is recommended to install a buffer tank (accumulator tank) between the stove and the system to improve heat management, increase autonomy, and optimize consumption. The buffer tank acts as a “thermal store,” accumulating heat when the stove is running and releasing it gradually.
4. Hydraulic Connections and Safety
The hydraulic connection involves flow and return pipes between the stove and the system’s manifold. Safety valves, an anti-condensation valve, and possibly an independent circulation pump must be installed. It is essential to comply with technical and safety regulations to avoid future problems.
Another important component is the automatic filling loop, which keeps the water pressure in the system constant. Also, don’t forget the flue, which must be certified and suitable for evacuating the fumes from a pellet stove.
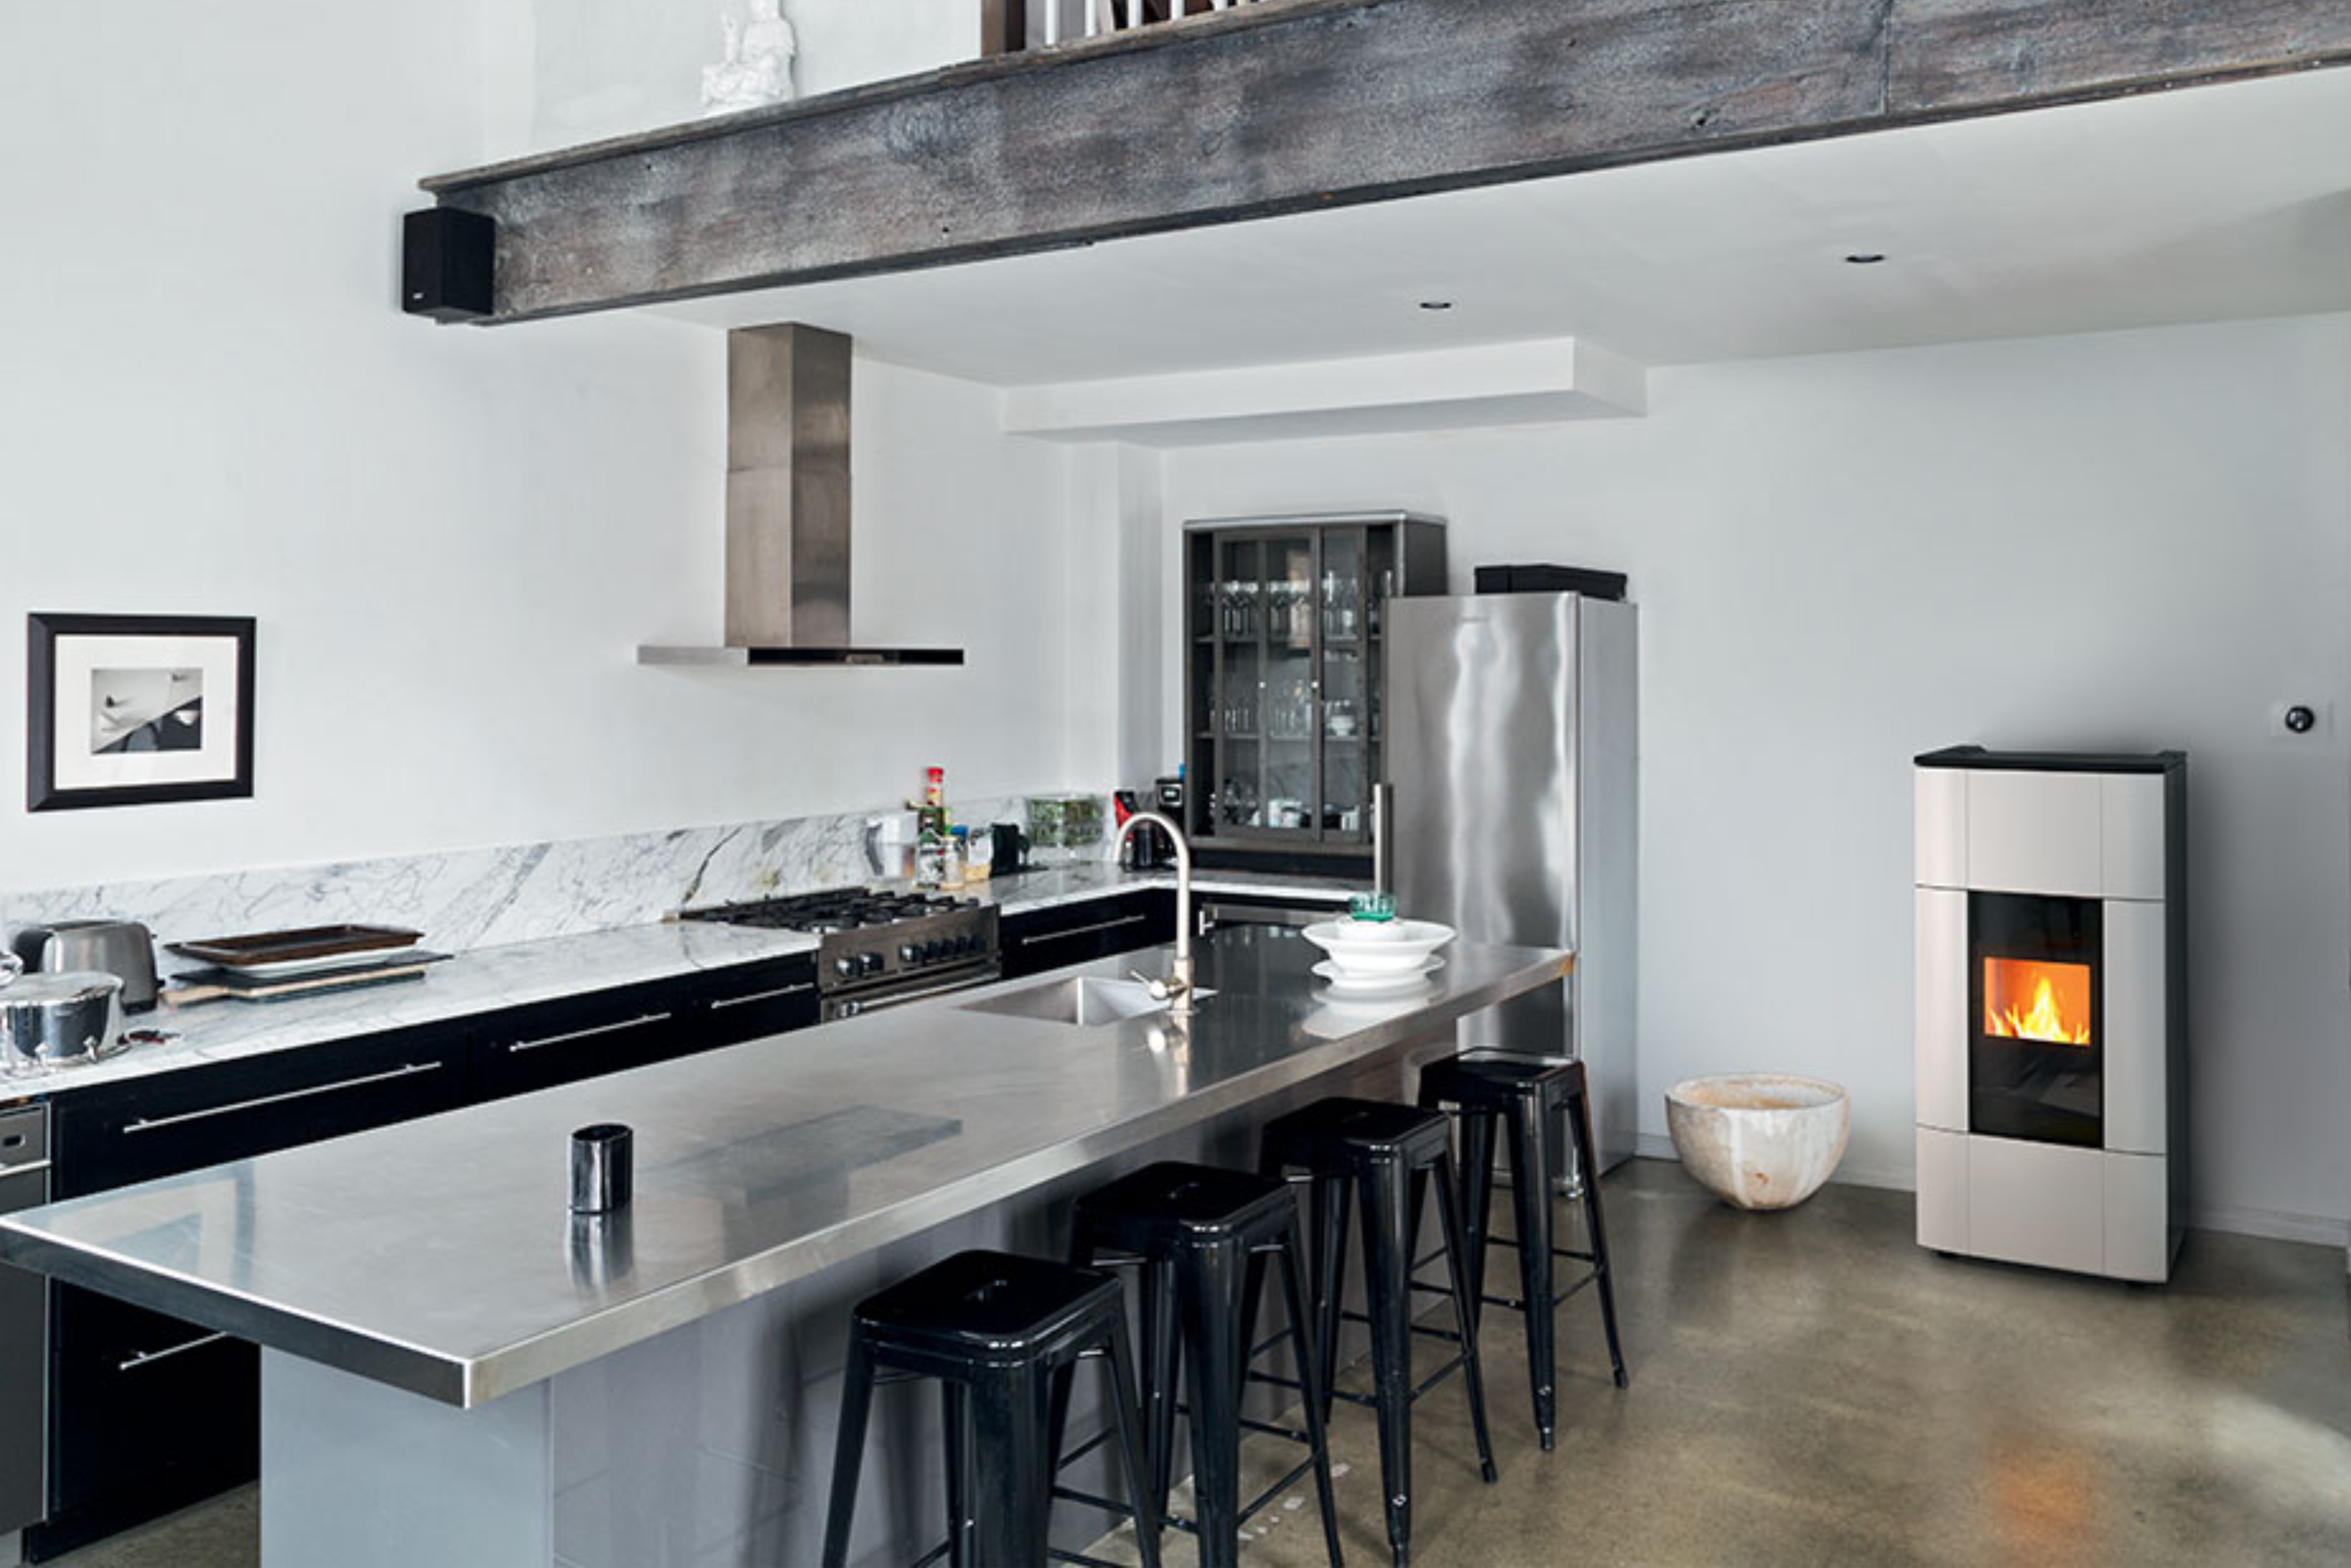
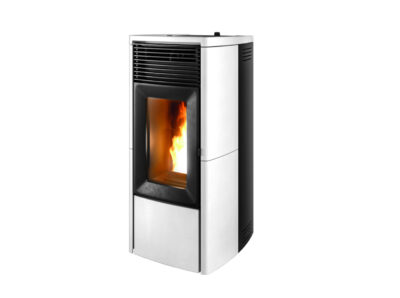
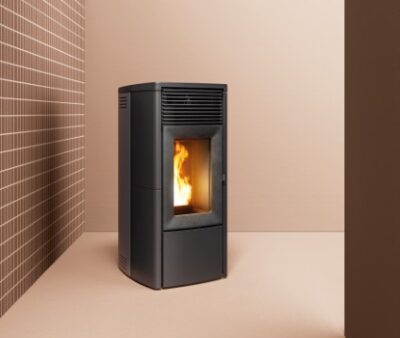
Why Choose a Hydro Pellet Stove
Connecting a hydro pellet stove to radiators is an increasingly popular choice, especially in homes without a natural gas supply or where the goal is to cut heating costs. The main advantages are:
- Energy savings: thanks to the low cost of pellets compared to heating oil or LPG.
- Reduced environmental impact: pellets are a natural and renewable fuel.
- Integration with existing systems: no major renovation work is required.
- Autonomy and control: modern models allow you to manage everything remotely.
Carefully evaluating your home’s characteristics and relying on a qualified professional is the best way to ensure a safe, efficient, and truly customized installation. Proper initial planning allows you to fully leverage the benefits of a hydro pellet stove and enjoy long-lasting thermal comfort throughout your home.